I love mud! Drywall mud, that is (though the common garden variety has its appeal, too, just not for this project). I've shown you stamped plaster tiles before (click here for that post:
stamped plaster tiles), and here's the same idea, but reversed. Takes a little longer and a little more skill, but it's still more patience than anything:
 |
| Before: Nothing really wrong with these tiles, except the color and design weren't at all the current homeowner's taste. Here's what she wanted... |
 |
| A whole field of dragonflies! You can do this yourself, if you're the crafty sort... |
 |
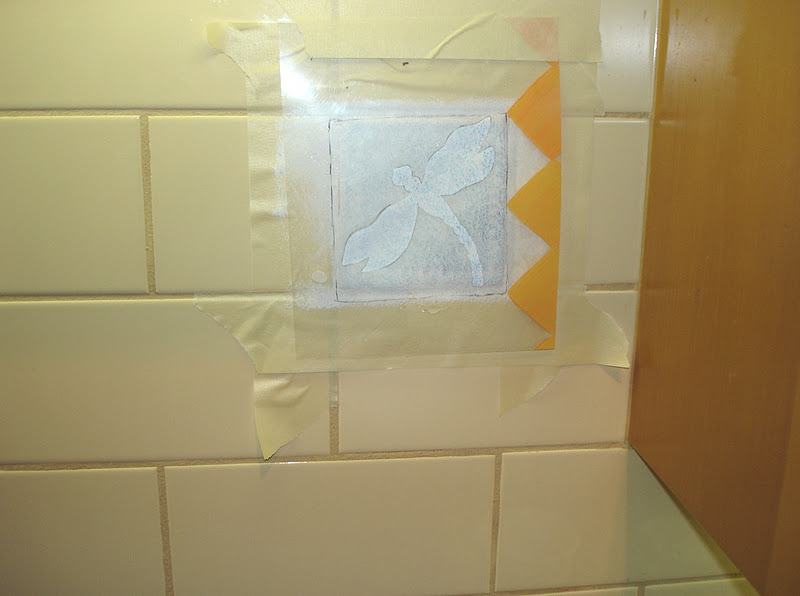
| Wash and degrease, then mask the offending tiles, pressing the tape down firmly , and I do mean FIRMLY, where the paint will touch it. Leaving the outer edges loose makes removal a little easier. Prime with a good bonding primer. Then... |
 |
| Use a ready made stencil, or make one of your own. I prefer them to just be the silhouette of the shape, and not have all the little parts and bridges in them. You'll see why in a minute. |
 |
| Spread joint compound about an eighth of an inch thick over the stencil. An expired gift card or credit card works better for this than a metal trowel, I think. Now... |
 |
| Lift stencil carefully. Allow the mud to set a few minutes, then with a damp fingertip, LIGHTLY pat down the high edges. Careful, or you'll be doing the rinse and repeat thing a few times. Scrape the excess mud off of your stencil, and position on the next tile. See... |
 |
| Here's how it will look, once dry. |
 |
| Now, it gets a little trickier. With a snap knife or an X-acto, gently score in the detail lines, then scrape away a bit to shape things. Using a piece of T-shirt cotton rag, dampened, gently wipe around the edges, and along your lines, to soften and round them. Like this... |
 |
| Here's one all carved and smoothed. I left some of the troweled texture in the wings, so it would look more like hand made clay tiles, and not too factory smooth. Now to finish... |
 |
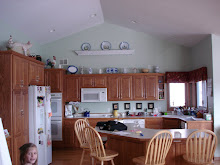
| Base coat the entire tile with latex paint. This one happens to be cabinet enamel, since I was painting their island, also. Then... |
 |
| Glaze on colors of your choice. and while that dries, make a dash to the hardware store for gloss Minwax Polycrylic and camera batteries. I used purple and teal metallic craft paints, Behr pearlescent white (not sure they still make it, but craft and paint stores have other brands of pearlescent), and Modern Masters Blackened Bronze. I thinned them on the brush with a bit of Hirshfield's Faux Finish Glaze. Three coats of that Polycrylic you just picked up will seal them nicely. Pull the tape right after you do the final coat, so it doesn't peel off bits of your finished paint. If you didn't seal the tape down well, you will have to use the tip of a knife to pick off any primer bleed on the mortar. |
You can use this technique anywhere you could use regular painted drywall. In other words, on your backsplash is fine, in your shower is NOT. After a couple of weeks of curing time, you can clean with a soapy dish cloth or a squirt of Windex. I wouldn't use anything abrasive, or any of the stronger kitchen degreasers.
Other samples of my plaster work, and information on how to hire me, can be seen on my website at theartofthehome.com.
Doing it yourself and run into questions? Feel free to leave a message in the comments below, or email me at dawnmariedelara@gmail.com, and I'll do what I can to talk you through it.


No comments:
Post a Comment